I'm back! My bloggy friend
Jamie reminded me that it's been a month since I've last posted. Oops! Not really what I intended to happen, but you know how things kind of get away from you... Good thing I have people keeping up with me, or you'd all still be left without my wonderful internet presence ;)
I thought a good way to get back into the swing of blogging would be to let you in on what I've been up to in my time off. It seems like things have been going non-stop since Thanksgiving. We hosted this year's Thanksgiving dinner at our house this year, and it went off well, but as soon as it was over Christmas kind of took over and then before I knew it, Christmas was over, and then it was time for New Years, when we had our friends over for a couple of days. And then we had Stephen's birthday this weekend. Whew! Lots of activity - it was all a blast though.
Don't worry - I did manage to get some crafting done during my busy time! Here's a quick rundown of what I did.
First of all, I promised my mother-in-law I'd take a picture of our Christmas tree for her so here it is (Sorry for the delay Suanne!) I made sure to take the picture before I shipped off all the gifts. It was pretty bare under there for most of the time we had the tree up.
And here are a few close ups of my handmade ornaments in action:
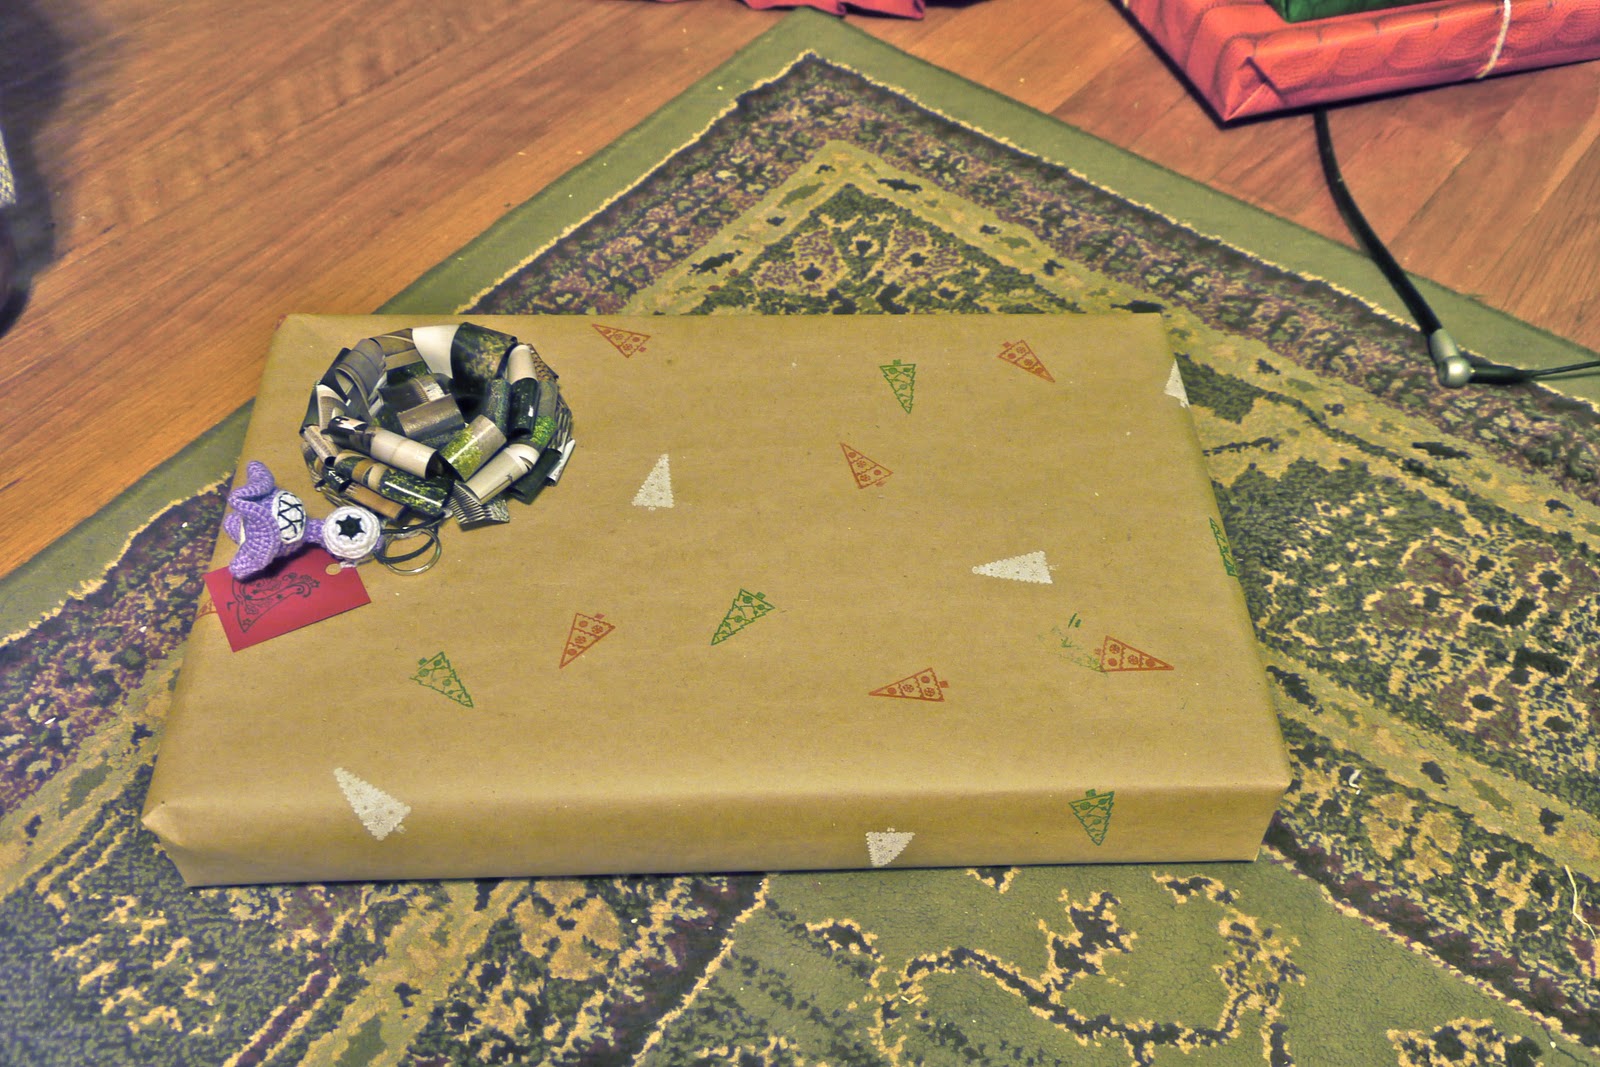
For my gift wrapping, I made a big roll of hand stamped kraft paper. It came out so cute! I love it! I also used a bunch of hand made gift bows on my packages. I think I'll post a tutorial for the bows one of these days. They are pretty simple and cute! Here's a close up of the paper and bows:
Just curious, but did anyone else fall in love with this sweater wrapping paper in the dollar bins at Michael's as much as I did?
Oh my goodness! It's so cute! I had to keep myself from buying like 50 rolls of it. I also decided to put yarn bows on all of my presents I was shipping this year, that way it wouldn't make a difference if my bows got squashed in the mail. Great idea right? Oh, and I don't think I took any photos of the gift tags, but they are all handmade too, you can see them a little in my present shots.
Here is my stack of gifts at it's most impressive looking point. Beautiful!! Well, at least I think so. Maybe next year I'll just wrap up a bunch of dummy boxes to put under my tree so I can look at a cheery pile of presents for more than a few hours.
Next, here are the Christmas cards I made for my co-workers this year. It is important to me to give handmade Christmas cards, but my list is just too long. So for the past couple years I've made up just enough for work people, and everyone else gets the pretty photo cards. Here's this year's card:
A cute little forest of trees! Here is a closer shot:
I sewed fabric scraps onto card stock using my sewing machine, then stitched around the edge and then sewed a few button ornaments on each one before sticking the card stock on to a blank card. Then I put a hand stamped message on the inside:
Ahh!! I'm totally in love with how they came out! Sooooo cute! (Sew cute?)
And, since I never posted it, here's the 2009 model:
Kinda the same idea but with a hand carved tree stamp instead (all the ornaments were mini hand-carved stamps too!)
Let's see... What next. How about the crafty gifts I made. I'll start with the nesting doll pillows I made for my mom and my sisters. We've kind of got a running nesting doll gift thing going in our family, so it seemed appropriate. I made these from a pattern I made up all by myself. Go me! I've still got a couple more to make, but I just couldn't get them done in time for Christmas. Here are the ones I did get done.
Cute right? Then this set of note cards went to my aunt. These were kind of fun to make because it isn't 4 individual stamps, it is one stamp inked with 4 different colors. That was kind of tricky!
My sisters-in-law each got one of these cute boxes:
Which held cute earrings! I'm learning how to make jewelry now - Yay!
And my nephew got a stuffed "One Yard Wonders" dinosaur.
And my mother in law got a cute flower pillow (I love this pillow so much! I have one of my own on my guest room bed! I've actually got the photos to post a walk through for this one - hopefully I'll get it up soon.)
Then, my niece turned 3 last week so I made her this cute card:
To accompany her new handmade fishing toy!
This was really fun to make! This project was inspired by
From An Igloo. What a great idea right? It's little stuffed fishies (I just sketched out a simple fish pattern). Each fishy has a washer attached to it's nose, and there is a magnet inside the felt worm. I kind of wanted to keep it to play with on my own. Stephen demonstrated the proper fishing technique for me.
I also stitched up a quick drawstring bag for her fishies to live in. I found the perfect fish fabric at Hobby Lobby too!
That's about all I've got! And that's only the stuff I remembered to take pictures of! I'm exhausted just thinking about it... :) And just for fun, and because Stephen took these photos, and I forgot about them, and I don't usually post photos like this here, here are a few pictures of me hard at work.
This is me making cards at my crafting table crafting table - it is usually about this jam packed full of stuff.
And here I am sewing buttons at the sewing table. Wine is always a good accompaniment for crafting! And this is my standard crafting attire. Gotta love the pj pants!
Here's to a new year of blogging! Hope it's a good one!