Sunday, June 13, 2010

I want to be Martha! Beaded Ribbon Necklaces

Well, except for the whole jailbird thing of course...  This craft is a Martha Stewart craft - cute beaded ribbon necklaces!  As you may or may not know, Martha Stew's* tutorials tend to be a little bit... tricky?  They always seem super simple till you try to do them and then you end up with a mess of glue and glitter.  This one was actually pretty easy though, the project is really straightforward.  I did a few things differently, though.  I didn't use her specific list of supplies (none are available in Waco of course), and I used two kinds of beads, and I knotted the ribbon at the end of my bead chain.  I think it looks a lot better that way and it hides where you tie the thread around the ribbon.  I love them and I wear them all the time!  Here are the two I made for myself:

Flat blue rectangle and round gray stone beads with gray 3/8in (i think) ribbon

You can see the colors a little better in this one

Large chunky purple beads and green round stone beads on 5/8 (again, I think) purple ribbon

Another view

Here I am modeling the purple one on one of my most beautiful days.

And here's one I made for my mom for mother's day.  I think that it's kind of bridal looking, maybe I should go in to the bridal jewelry business!


Now go out and make yourself some necklaces!  

*I had a science teacher named Mrs. Stewart and we used to call her Mother Stew

Wednesday, June 9, 2010

A focus on the crafts of others: Crawfish art

As a blog owner, I like to take the time to highlight the craftiness of those around me.  Recently I had some friends over for a delicious crawfish dinner only to discover that my friend Grant is truly a food ARTIST! 

I forget what all this was supposed to represent, but it was something...

Who knew we had such genius in our midst!  The food was amazing by the way!  Stephen is kind of a food artist too - just a different kind :)  It was a great night with good friends, and I hope we can all do it again soon!

Monday, June 7, 2010

More flowers!

Just a quick little post to show you something I've made!  I already posted about these flowers, but I made a whole bunch more, and now this lovely bouquet is sitting on my desk at work, cheering me up every time I look at it (and in a cute little crafty pot instead of my waterford crystal vase)!  Yay!

Saturday, June 5, 2010

Winner Winner Chicken Dinner! Nome's brag-a-long!

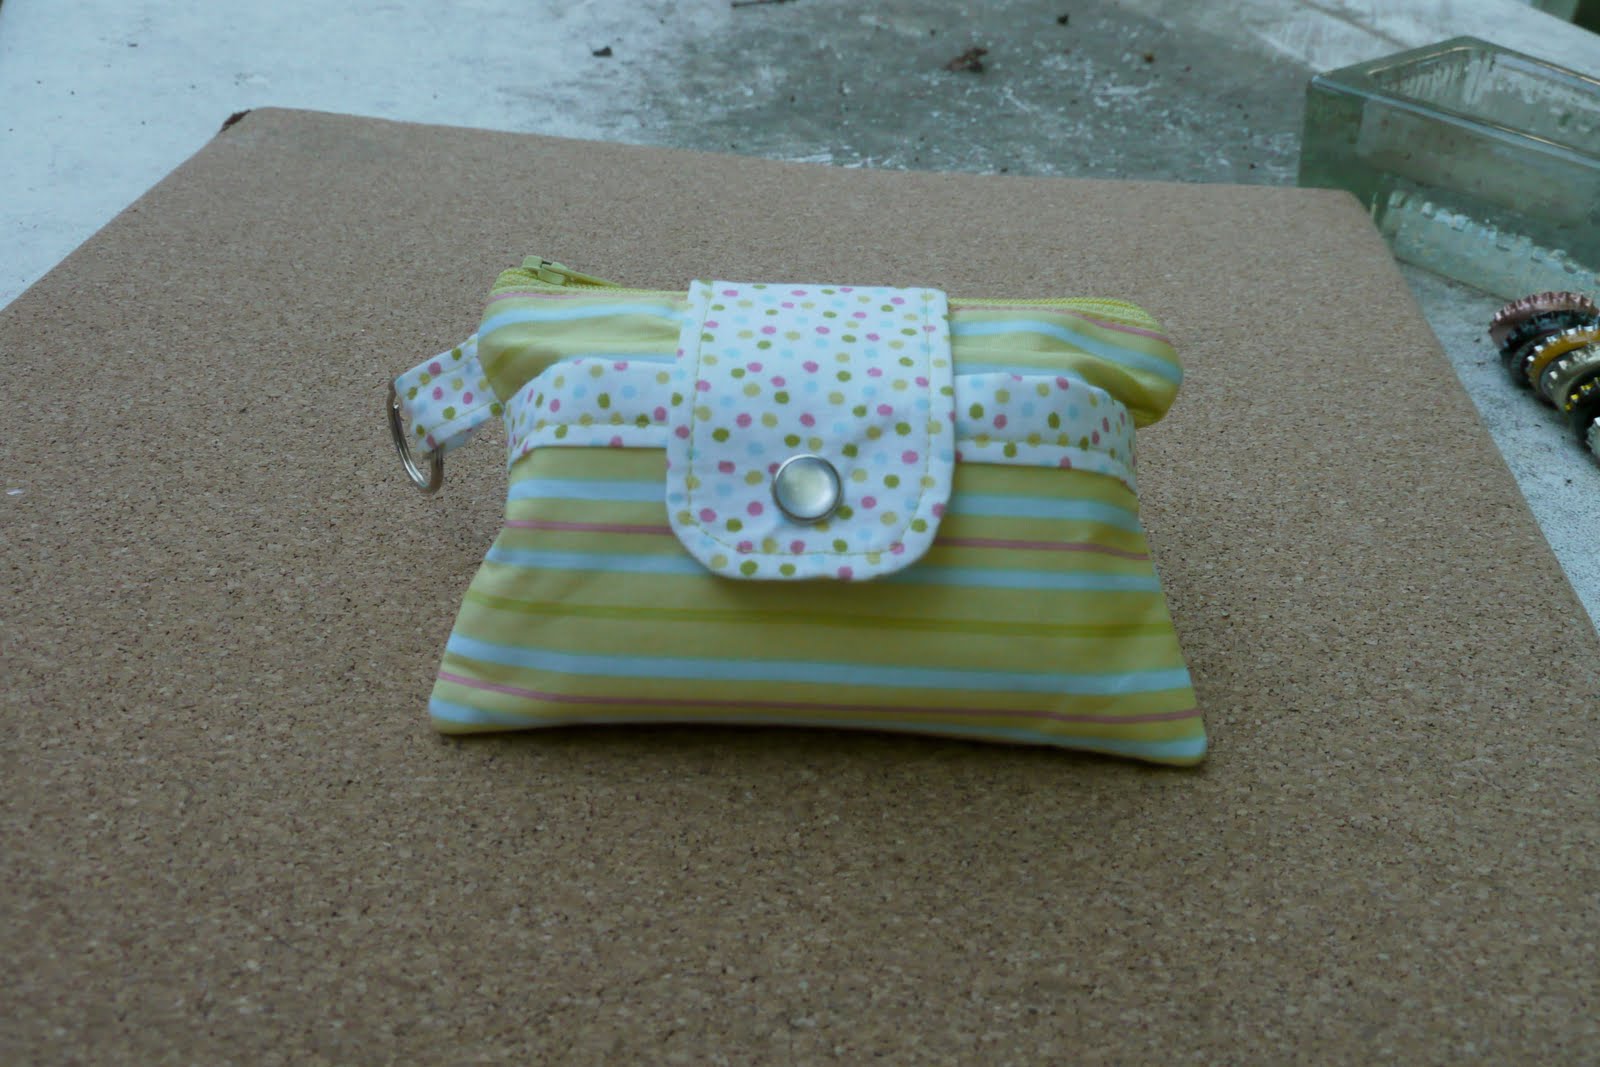
This post is EXTREMELY overdue.  Like seriously.  Ages ago (end of March)  I won this blog giveaway at Naomi's blog - Nome's brag-a-long!  This was the first blog giveaway I ever won and I was SUPER excited!  I won 'giveaway #1' and got the super cute keyring pouch and fun cross stitch kit (I'm sad to say my kit is now buried somewhere in the craft room - I guess it will be a fun surprise when it turns up again!)

I've been using my little zippered pouch to carry all my allergy medicines. It's the perfect size!  I love it! I'll have to find another use for it when allergy season is done.

It is so cute and so well made!  Love love love it!

Plus since more than 50 people entered the giveaway, Naomi included a little bonus prize - the cutest little owl keychain!

So sweet!

A big - long overdue - thank you to Naomi!  Go ahead and check out her blog!  She has made some really great bags!  I absolutely love her fabric choices.  Seriously - check it out!

Thursday, June 3, 2010

Dustbunnies put the "fun" in functional!


A while back I saw this tutorial for these goofy screen dusters and saved it away for the day when I could find cheap materials for it.  Later I found the noodly wash mits at the dollar tree and knew that the time had come to make the neatest screen dusters ever!  I went to the tutorial and printed out the pattern. This was a little tricky since I couldn't find a good program to get it sized properly.  I think I ended up just opening it in paint and printing it full size, and it came out pretty close to correct, so I just went with it.  Then I used it to cut out my pattern pieces and chop up my noodle mit:

Like so

FYI - if you chop up a noodly piece of fabric like this you will find little bits of noodle all over yourself and everything else in your craft room for the rest of your life.  

This ended up being a super cheapy cheap project because I used leftover fleece from a different project, and leftover felt from another different project.  I spent $1 on the mit, and $.99 on the safety eyes. It was really fast too - I finished both in one evening, which is pretty good for me given my habit of putting things off.

Laying out the spacing for the faces on Stephen's alien

Now the faces and eyes are sewn on - these are starting to look awesome right?

Voila!  We're done!

And here's my bunny

"Wow!  Thanks for making me this awesome computer cleaner honey!  I love you so much!"

This was actually the first and last time the alien ever cleaned a screen.  I brought my bunny to work but Stephen didn't want to take his with him.  I found it under the couch the other day.  I guess there is dust under there, but that's not really the point.  Now it's sitting underneath the wii remote on the coffee table.  Oh well.  I understand that not everyone appreciates awesomeness the way I do.